Basic Usage
This guide walks you through the fundamental operations of Text Localizer.
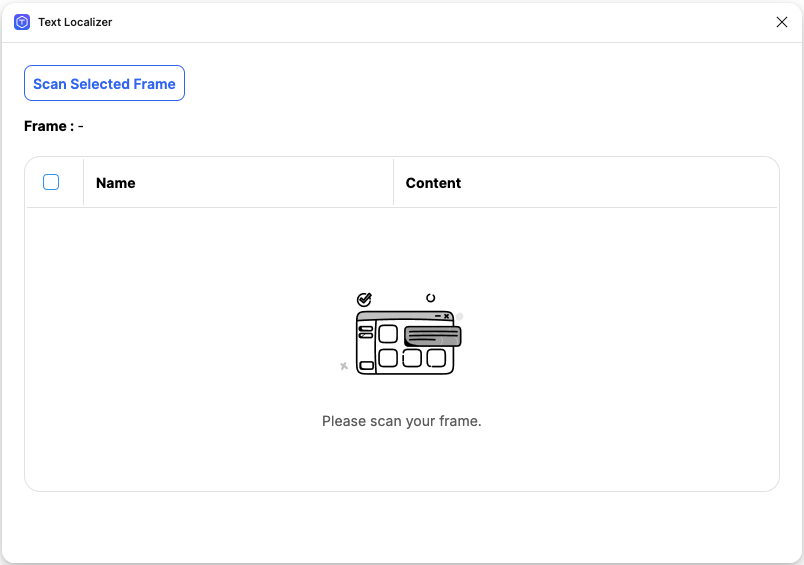
Plugin Interface
When you open Text Localizer, you'll see a simple interface with three main functionalities:
- Frame scanning
- CSV export
- Variable generation
Step-by-Step Usage
1. Selecting a Frame
- Choose a single frame that contains text you want to localize
- The plugin only processes one frame at a time
- Nested frames are supported
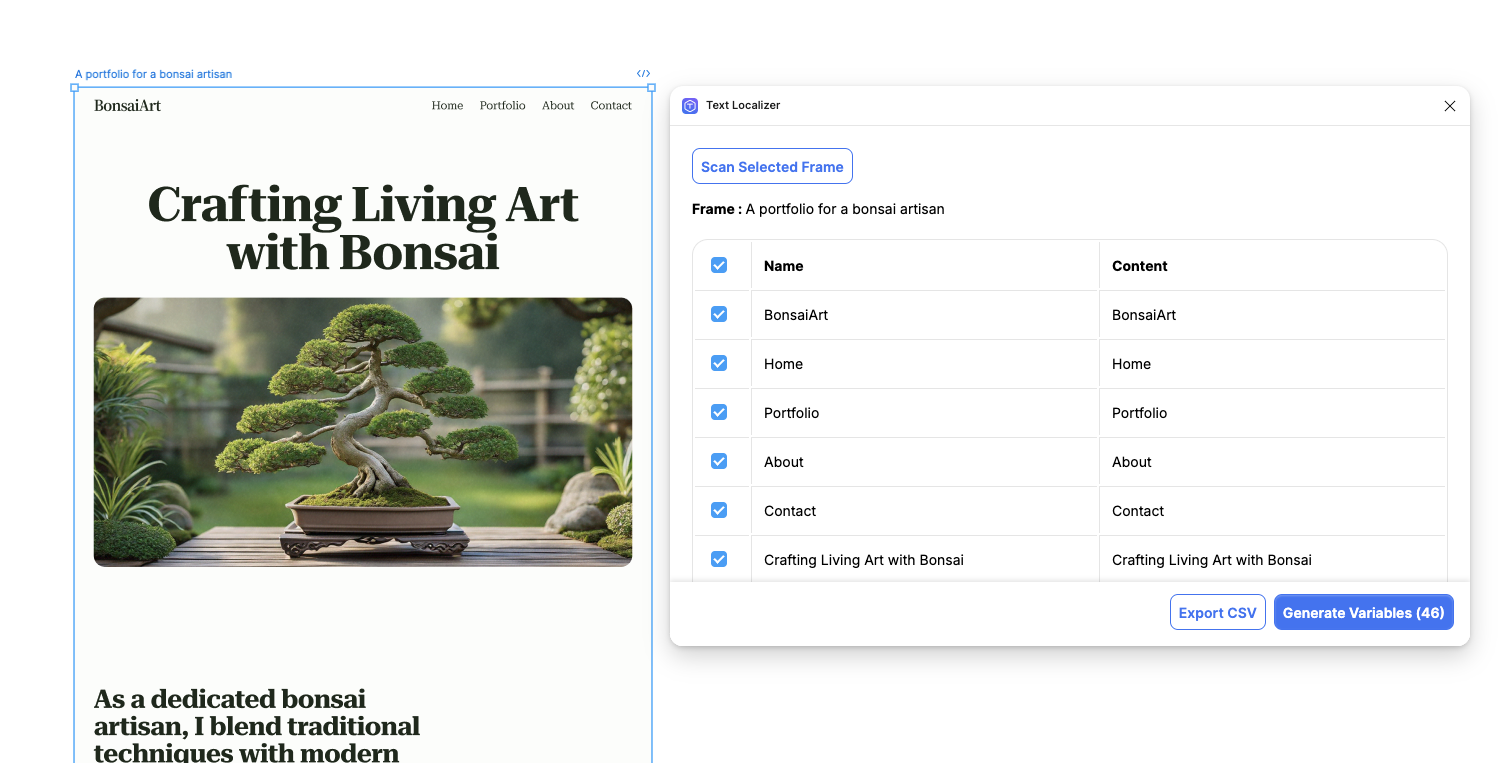
2. Scanning Text Layers
When you launch the plugin with a frame selected:
- The plugin automatically scans for text layers
- All detected text layers will be displayed in a list
- You can see the text content and layer name for each item
If no frame is selected, you'll see a prompt to select one.
3. Working with Results
After scanning, you have three options:
Export to CSV
- Click "Export CSV"
- Choose save location
- Your CSV file will contain:
- Layer names
- Text content
- Additional metadata
Generate Variables
- Select the text layers you want to convert
- Click "Generate Variable"
- Variables will be created in your Figma file
Rescan Frame
- Use this if you've made changes to your frame
- Click "Rescan Frame" to update the text layer list
Common Scenarios
Single Text Update
- Select a frame
- Export to CSV
- Update text in CSV
- Use variables for dynamic updates
Bulk Text Management
- Organize text in frames
- Export all text to CSV
- Manage translations in the CSV
- Generate variables for automated updates
Best Practice
Name your text layers descriptively before scanning. This makes it easier to identify them in the CSV export.
Common Mistake
Don't select multiple frames at once - the plugin only processes one frame at a time.
Next Steps
- Learn about Frame Selection techniques
- Understand Text Layer Detection in detail
- See how to effectively use CSV Export
- Master Variable Generation